Every year I like to add a new ornament to our tree and this year I decided to make them and they turned out better than anything I could have ever bought!
 |
| Our beloved angel Gigi! |

To make your own photo transfer wood ornaments, you will need:

- A photo printed on basic computer paper with a laser printer
- Branch slices about a 1/2 inch thick (I purchased mine from Hobby Lobby)
- Mod Podge
- Drill
- Small ribbon (I used some striped ribbon I had on hand, but color is up to you!)
- Small paintbrush
- Washcloth
Directions:
- Mod Podge
- Drill
- Small ribbon (I used some striped ribbon I had on hand, but color is up to you!)
- Small paintbrush
- Washcloth
Directions:
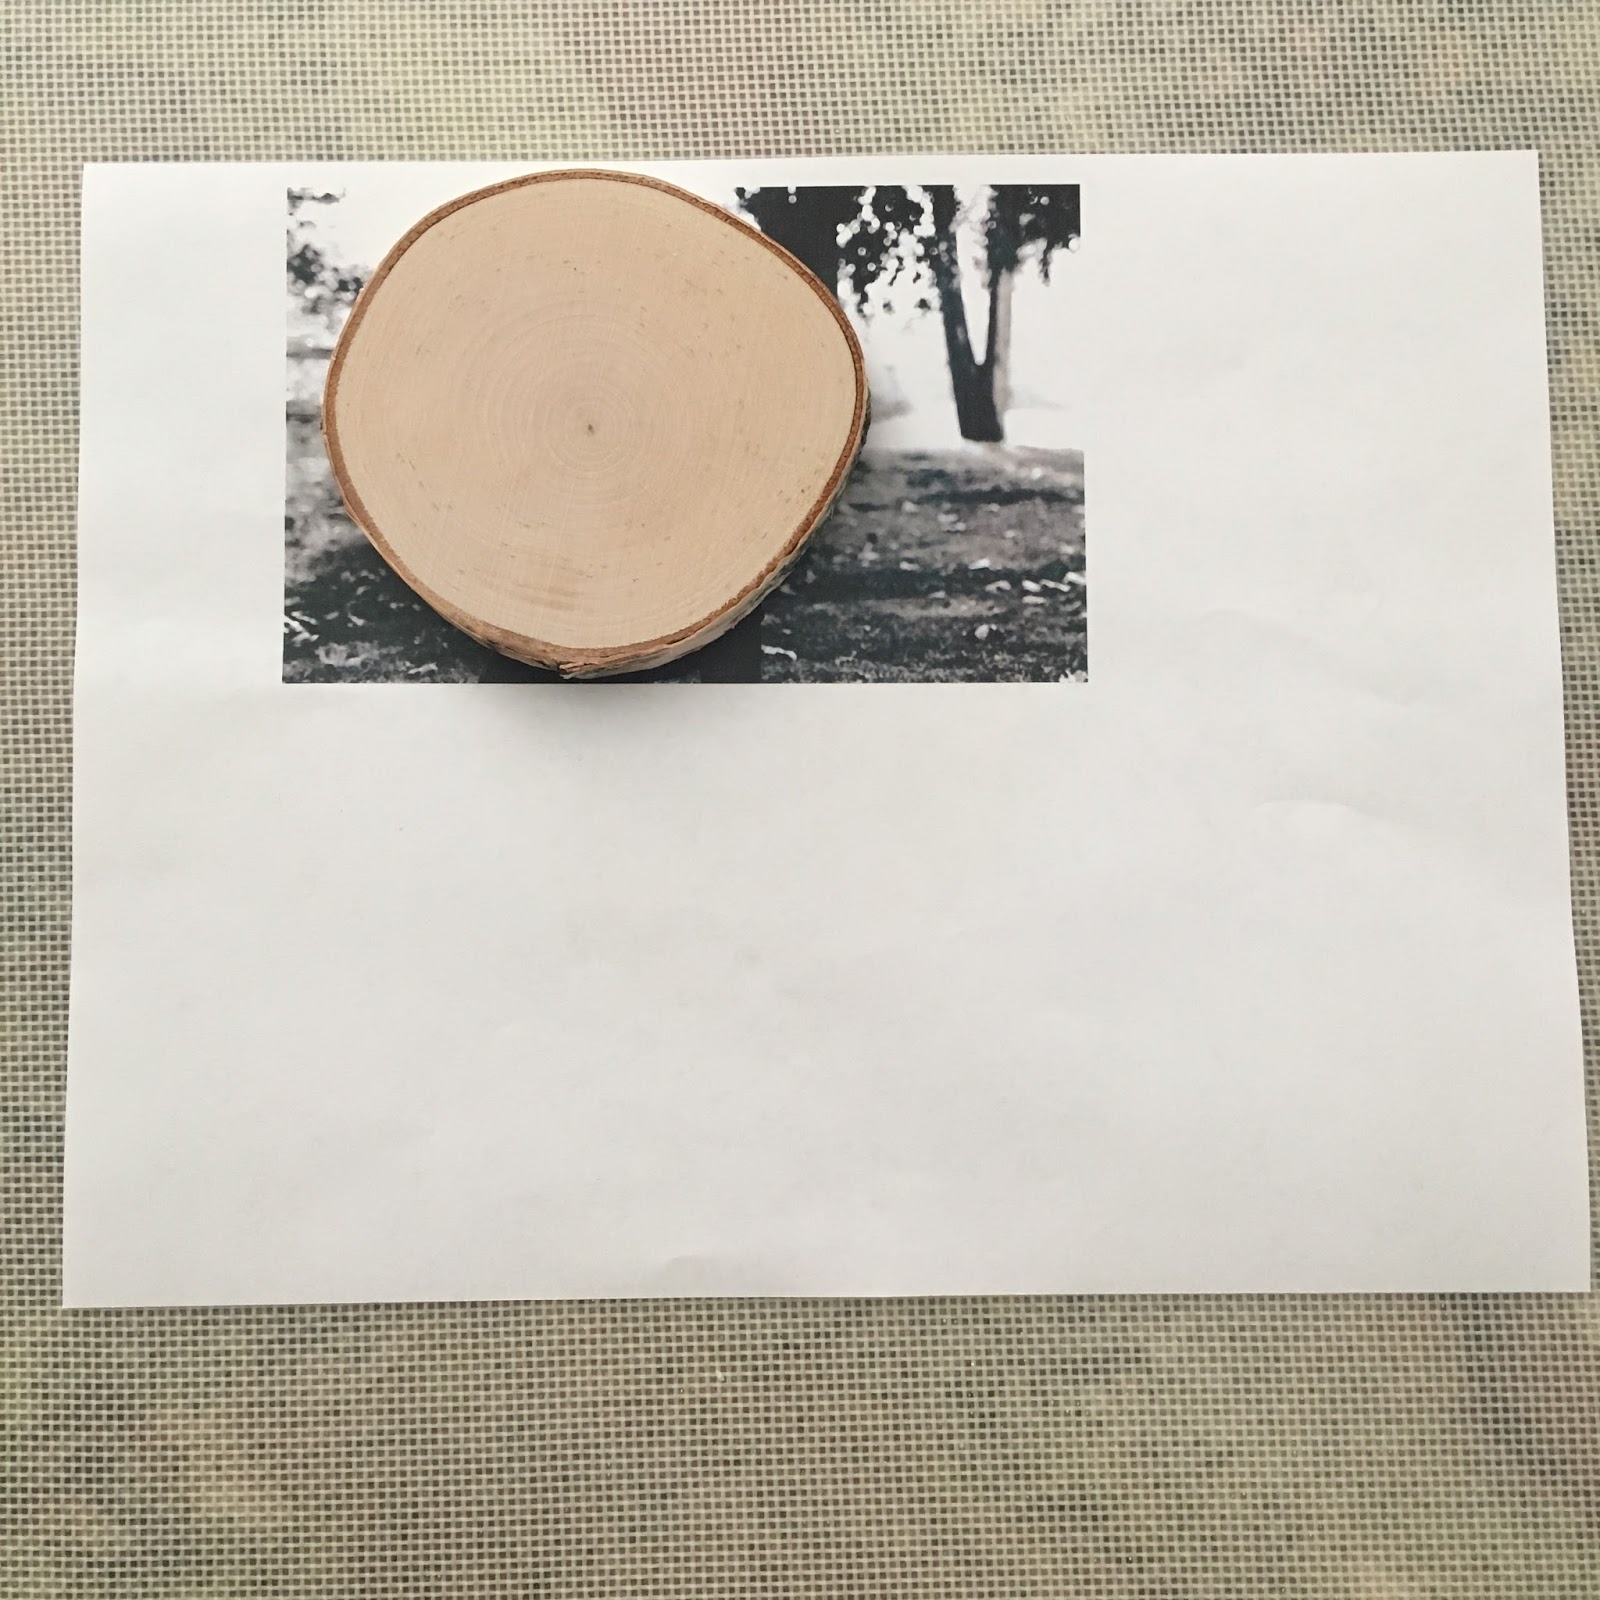
Cut out your photo to fit the wooden disc. Coat the wood slice with a thin coat of mod podge and place the photo face-down onto the disc. Carefully smooth out all the bubbles, and let it sit overnight.
The next morning, use a wet washcloth to dampen the photo, rubbing it VERY gently until the paper starts to come off -- and you start to see the image on the wood underneath! Continue to do this until all the paper is gone, but be careful -- if you rub too hard, the image can come off too.
Once you've rubbed off the paper, paint a coat of Mod Podge and let it dry completely. Drill a hole, string it with your ribbon, and hang it on the tree!
 |
| Step 1 |
 |
| Step 2 |
 |
| Step 3 |
 |
| Step 4 |